

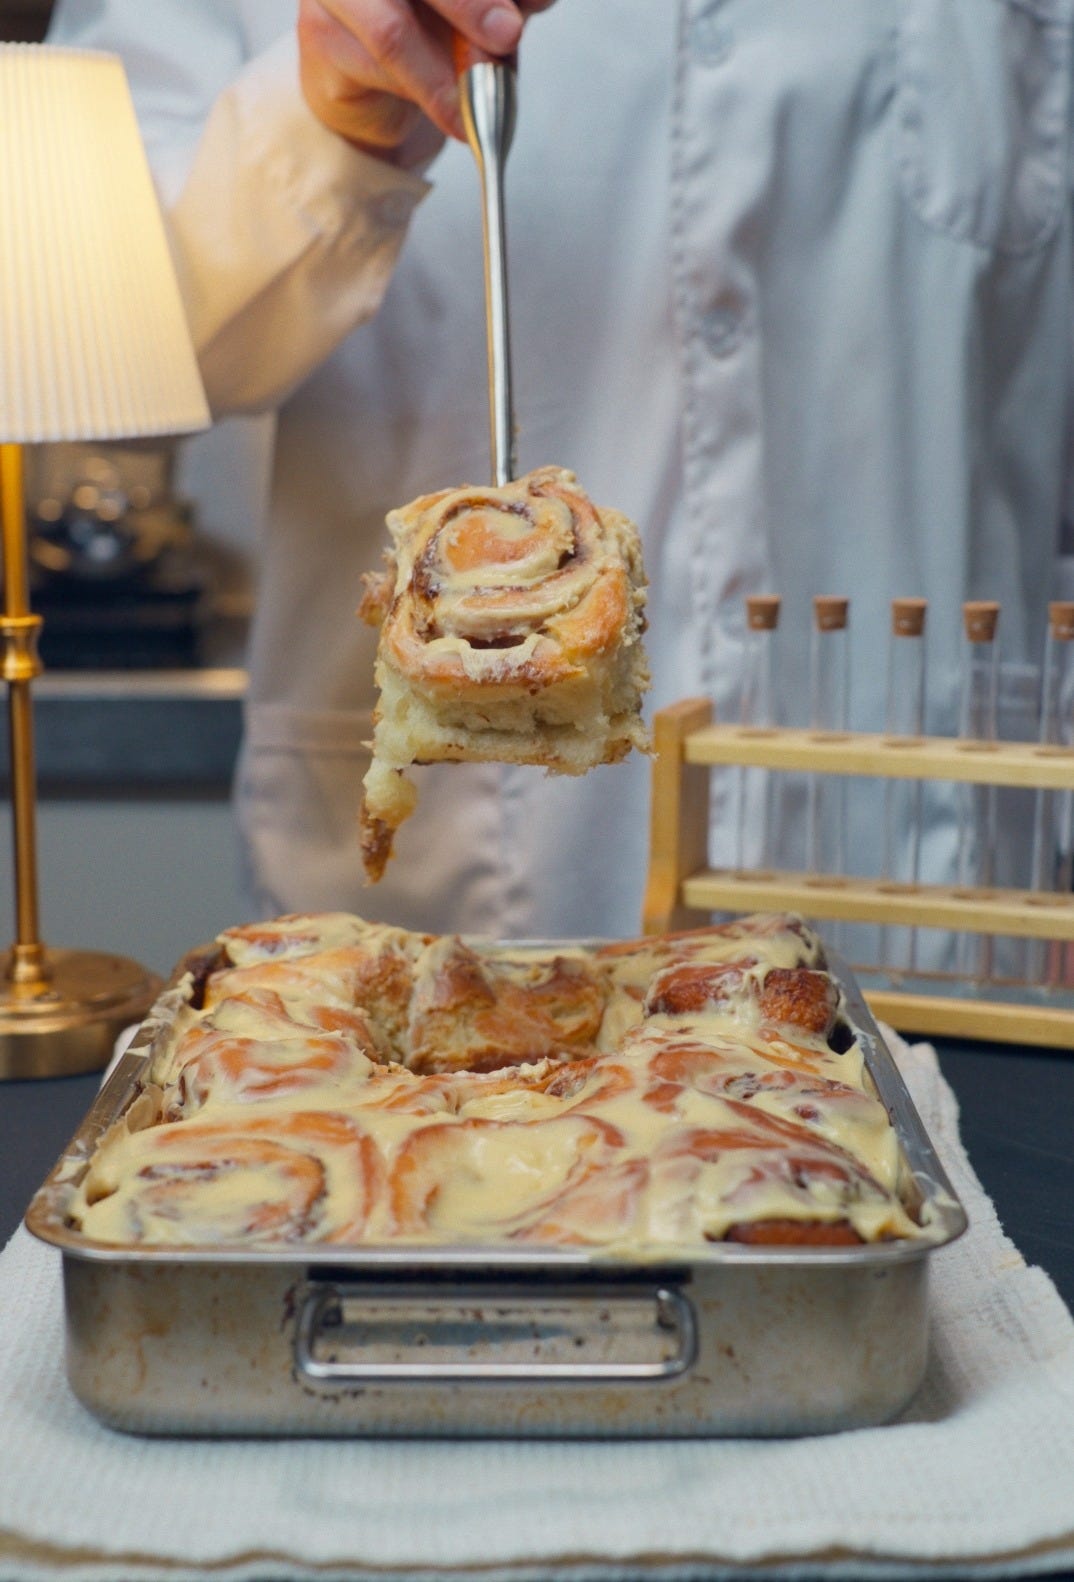
There are two types of cinnamon rolls in this world. Ones that look decent for 5 minutes then dry out, overly sweet, collapse or leak their filling into a sugary puddle and the other stays soft for days, pulls apart in delicate layers and are fluffy and light. In this recipe i wanted to delve into the science of the latter and how we could achieve this, understanding the what goes behind each step and how we can best make this cinnamon roll with science.
Most recipes tell you what to do but very few till you why it actually works, this is what i really wanted to delve into and this is where science changes everything. In this recipe every step has a purpose. The tangzhong is used to manipulate starch and hold more water inside the dough which leads to rolls that stay soft for longer and then we use the science of how gluten works so that rollls rise tall but is also soft inside. Even the filling gets a science approach where i investigated what leads to fillings leaking into a sugary puddle and the importance of cutting dough. Nothing here is accidental!
My mission here was not to just make cinnamon rolls but also to make cinnamon rolls that are consistent every time they are made through the control of variables with precision. Once I understood the system i stopped guessing i started to understand why things failed and also why things worked.
I have also provided a quick recipe with just the instructions at the bottom (no images)
Recipe
Ingredients (Makes 9 Cinnamon rolls)
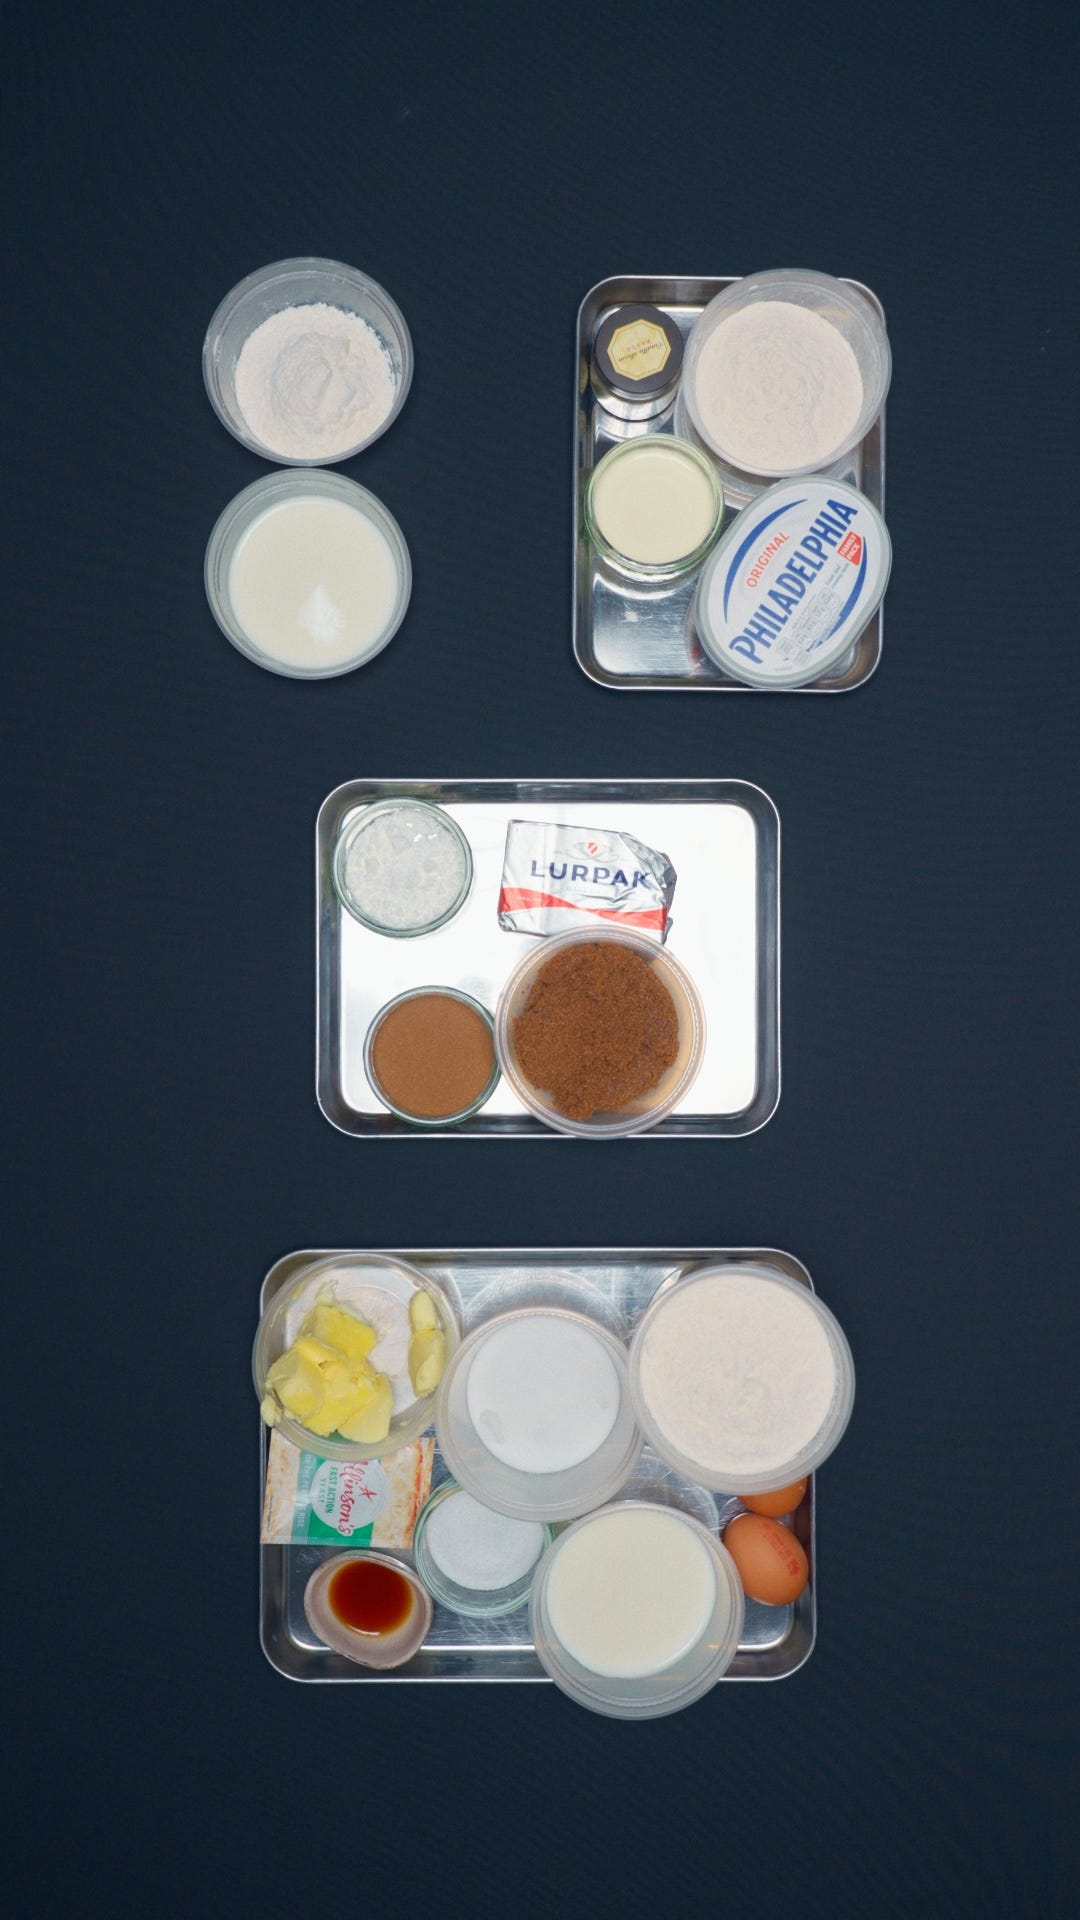
Tangzhong (makes them softer for longer)
Strong Bread flour (look for a flour with 15g of protein per 100g ie 15% protein): 25 g
Whole milk: 125 g
Dough
Strong Bread flour: 500 g (plus a little for dusting)
Sugar: 75 g
Salt: 9 g
Instant yeast: 7 g (1 packet)
Whole milk, warm: 180 g (about 35 to 40°C)
Eggs: 2 large (about 100 g)
Unsalted butter, very soft: 90 g
Vanilla: 2 tsp
120ml double cream (slightly warm)
Cinnamon filling
Unsalted butter, very soft: 150g
Dark brown sugar: 170g
Cinnamon: 18g
Salt: 1 good pinch
Cornstarch: 8g
Cream cheese frosting
Cream cheese, soft: 200 g
Icing sugar: 100g
Vanilla bean paste: 1 tsp
Salt: tiny pinch
double cream: 2 tbsp
Method with Scientific explanation
Step 1: Make the tangzhong
In a small pan, whisk 25g of strong bread flour with 125g of milk. Cook this over medium heat whilst constantly whisking. What you will see is that itll become a thick paste (almost like mashed potato)


Science: Tangzhong is an asian cooked roux technique used to make bread exceptionally soft, fluffy and long lasting. What this does is that it gelattinises starch. Gelatinised starch holds more water so the dough can carry higher moisture without turning slack. This allows makes the dough softer for days instead of making it stale quickly.
Step 2: Mix the dry ingredients
In a stand mixer bowl (Or a big bowl if you dont have a stand mixer) whisk together:
-500g of strong bread flour
- 75g of sugar
- 9g salt
- 7g of instant yeast


Science: Whisking the dry ingredients first allows all the ingredients to be evenly distributed but what also happens is that it prevents the salt from sitting directly on the yeast, as salt can inhibit the activation of the yeast which keeps the fermentation consistent. Sugar is also food for yeast but also slows it slightly by drawing water, so mixing everything evenly avoids a patchy rise.
Step 3: Add the wet ingredients and tangzhong
Now add to the bowl:
-Tangzhong
- 180ml milk
- 2 large eggs
- 2 tsp vanilla
And mix until a shaggy dough forms, then knead in the stand mixer on medium low for 6-8 minutes or if kneading by hand, transfer to a lightly floured surface and knead for 10-12 minutes.


Science: This step builds gluten before the butter goes in. Why we did this without the butter is because butter coats flour proteins and can block gluten formation if added too early. Building this network first allows the dough to be stronger and gives it a better lift.
Step 4: Add butter slowly, then knead until windowpane
Add 90 g very soft butter in small pieces, letting each piece incorporate. Knead 6 to 10 minutes more until smooth and stretchy. A good test to see whether the dough is ready or not is the “Window pane test”, just simply pull a thing layer with your fingertips and it shouldn’t tear and be translucent just like the image below.


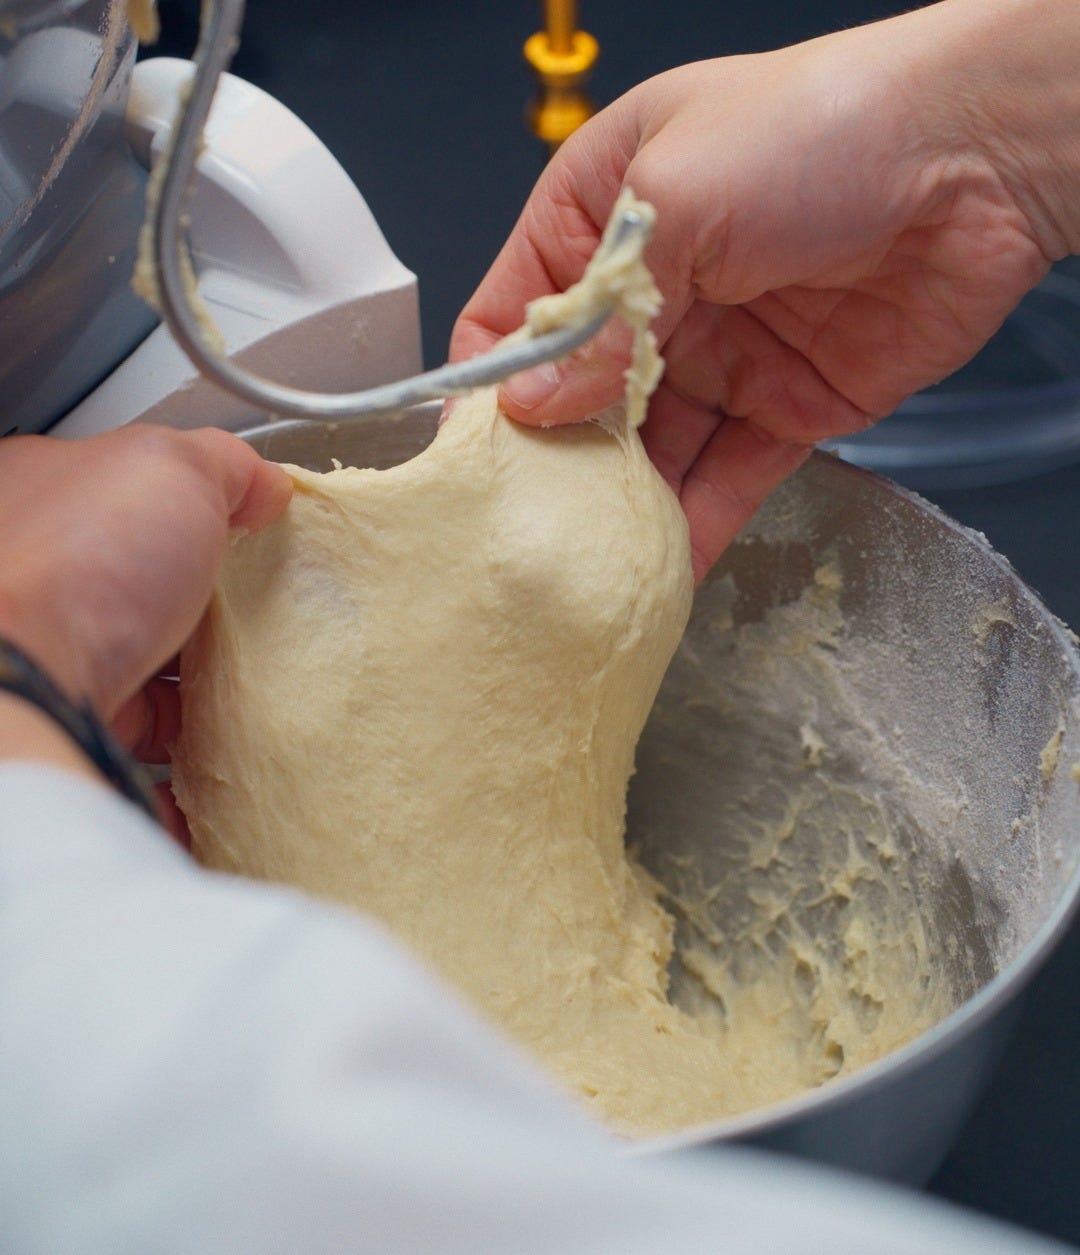
Science: Butter is an “enrichment” fat. It tenderises by shortening gluten strands, but if it’s properly emulsified into a well developed dough, you get the best of both worlds: tender and tall. Windowpane is your proof you have the structure to trap CO₂ and rise high.
Step 5: First rise until puffy, not doubled
Cover with plastic wrap and allow it to rise at a warm room temperature of 27c until the dough has risen until about 60-80% larger than the original - This takes around 60-90 minutes.
Because the UK was cold around this time i had to use a bread proofer. If where you are based is cold i would highly suggest this otherwise proofing times can double, even triple depending on where you are. (you can purchase this in the link below)


Step 6: Chill the dough (yes, even briefly)
Punch down gently to release air and then refrigerate for 20-30 minutes


Science: Cold dough is easier to roll without tearing and keeps te butter in the dough from melting out. This improves the layering and prevents the filling from smearing into the dough which would reduce the spiral definition
Step 7: Make the filling paste
In a mixing bowl, using an electric whisk mix together your filling ingredients until you have a smooth paste like filling:
-Unsalted butter, very soft: 150g
- Dark brown sugar: 170g
-Cinnamon: 18g
- Salt: 1 good pinch
- Cornstarch: 8g


Science: Dark brown Brown sugar adds moisture and molasses flavour, and stays gooey and the secret ingredient to the filling is Cornstarch. Cornstarch absorbs and thickens the melted sugar butter syrup so it stays in the roll instead of running out and caramelising into a hard puddle.
Step 8: Roll, spread, and tighten the log
On a floured surface, transfer the dough to the table and dust more flour on top. Shape the dough into a ball so it is easier to roll out.


Then roll the dough into a rectangle measuring with measuring tape. The dough should be 35 x 45 cm and about 5-6mm thick.


Then spread the filling evenly to the edges but leave a 1.5cm strip bare on the far long edges of the dough.


Then from the long side closest to you lift the edge and fold it tightly over itself and begin to spiral. Use your fingertips to tuck and tighten the first turn


Science: leaving a bare strip creates a dough on dough seam which seals better than sugar on the dough and then tightly rolling creates more distinct layers and stops huge air gaps in the spiral.
Step 9: Cut with floss for perfect shape
with a measuring tape measure out 3.75cm spirals and use unflavoured dental floss or thin string to cut your spirals with the floss placed underneath and then crossed on both sides. Then place in a lined 9x13 inch baking tray.


Science: A knife compresses the spirals and can squeeze the filling out. What the tooth floss does is that it makes zero compression cuts so your rolls rise taller and most importantly, prettier.
Step 10: Second rise until the rolls wobble
Cover with plastic wrap again and rise in a 27c degree room or in a proofing box for 45-75 minutes until the rolls jiggle slightly when you shake the tray (Video reference below)


Science: The “wobble test” is more reliable than time. You want the dough airy and inflated, but still elastic. Underproofed = dense. Overproofed = collapse and dry, because the structure can’t hold.
Step 11: Add cream before baking
Warm 120ml double cream slightly in the microwave and pour around the rolls right before baking.


Science: The liquid raises humidity in the pan and slows crust formation, so the interior sets softly while staying ultra moist. The fat also enriches the bottom layers, making them almost custardy.
Step 12: Bake at the right temp, to the right doneness
Bake at 175°C (fan 160°C pro tip, use a over thermometer for accurate readings) for 22 to 28 minutes until lightly golden.
If you use a thermometer, aim for about 88 to 93°C in the centre of the middle roll.


Science: Enriched dough browns fast because of sugar, milk proteins, and egg. A slightly lower temp bakes through without over browning. The internal temp range ensures the starches have set and the crumb is baked, but not dried out.
Step 13: Make frosting: emulsify for silk
Beat 170 g cream cheese and then Add icing sugar gradually (100g), vanilla, double cream, pinch of salt
Cream cheese, soft: 200 g
Icing sugar: 100g
Vanilla bean paste: 1 tsp
Salt: tiny pinch
double cream: 2 tbsp


Science: Too hot and the frosting melts completely and disappears into the rolls. Too cool and it sits thick and doesn’t seep into the swirls. Ten minutes is the sweet spot for a glossy, luxurious melt.
Step 14: Cool briefly before frosting
Allow the rolls to to rest for 10 minutes and then smear all over the top whilst its warm but not piping hot


Science: Too hot and the frosting melts completely and disappears into the rolls. Too cool and it sits thick and doesn’t seep into the swirls. Ten minutes is the sweet spot for a glossy, luxurious melt.


Recipe (Version with no images)
Ingredients (Makes 9 Cinnamon rolls)
Tangzhong (makes them softer for longer)
Strong Bread flour (look for a flour with 15g of protein per 100g ie 15% protein): 25 g
Whole milk: 125 g
Dough
Strong Bread flour: 500 g (plus a little for dusting)
Sugar: 75 g
Salt: 9 g
Instant yeast: 7 g (1 packet)
Whole milk, warm: 180 g (about 35 to 40°C)
Eggs: 2 large (about 100 g)
Unsalted butter, very soft: 90 g
Vanilla: 2 tsp
120ml double cream (slightly warm)
Cinnamon filling
Unsalted butter, very soft: 150g
Dark brown sugar: 170g
Cinnamon: 18g
Salt: 1 good pinch
Cornstarch: 8g
Cream cheese frosting
Cream cheese, soft: 200 g
Icing sugar: 100g
Vanilla bean paste: 1 tsp
Salt: tiny pinch
double cream: 2 tbsp
Method
Step 1: Make the tangzhong
In a small pan, whisk 25g of strong bread flour with 125g of milk. Cook this over medium heat whilst constantly whisking. What you will see is that itll become a thick paste (almost like mashed potato)
Step 2: Mix the dry ingredients
In a stand mixer bowl (Or a big bowl if you dont have a stand mixer) whisk together:
-500g of strong bread flour
- 75g of sugar
- 9g salt
- 7g of instant yeast
Step 3: Add the wet ingredients and tangzhong
Now add to the bowl:
-Tangzhong
- 180ml milk
- 2 large eggs
- 2 tsp vanilla
And mix until a shaggy dough forms, then knead in the stand mixer on medium low for 6-8 minutes or if kneading by hand, transfer to a lightly floured surface and knead for 10-12 minutes.
Step 4: Add butter slowly, then knead until windowpane
Add 90 g very soft butter in small pieces, letting each piece incorporate. Knead 6 to 10 minutes more until smooth and stretchy. A good test to see whether the dough is ready or not is the “Window pane test”, just simply pull a thing layer with your fingertips and it shouldn’t tear and be translucent just like the image below.
Step 5: First rise until puffy, not doubled
Cover with plastic wrap and allow it to rise at a warm room temperature of 27c until the dough has risen until about 60-80% larger than the original - This takes around 60-90 minutes.
Because the UK was cold around this time i had to use a bread proofer. If where you are based is cold i would highly suggest this otherwise proofing times can double, even triple depending on where you are. (you can purchase this in the link below)
Step 6: Chill the dough (yes, even briefly)
Punch down gently to release air and then refrigerate for 20-30 minutes
Step 7: Make the filling paste
In a mixing bowl, using an electric whisk mix together your filling ingredients until you have a smooth paste like filling:
-Unsalted butter, very soft: 150g
- Dark brown sugar: 170g
-Cinnamon: 18g
- Salt: 1 good pinch
- Cornstarch: 8g
Step 8: Roll, spread, and tighten the log
On a floured surface, transfer the dough to the table and dust more flour on top. Shape the dough into a ball so it is easier to roll out.
Then roll the dough into a rectangle measuring with measuring tape. The dough should be 35 x 45 cm and about 5-6mm thick.
Then spread the filling evenly to the edges but leave a 1.5cm strip bare on the far long edges of the dough.
Then from the long side closest to you lift the edge and fold it tightly over itself and begin to spiral. Use your fingertips to tuck and tighten the first turn
Step 9: Cut with floss for perfect shape
with a measuring tape measure out 3.75cm spirals and use unflavoured dental floss or thin string to cut your spirals with the floss placed underneath and then crossed on both sides. Then place in a lined 9x13 inch baking tray.
Step 10: Second rise until the rolls wobble
Cover with plastic wrap again and rise in a 27c degree room or in a proofing box for 45-75 minutes until the rolls jiggle slightly when you shake the tray (Video reference below)
Step 11: Add cream before baking
Warm 120ml double cream slightly in the microwave and pour around the rolls right before baking.
Step 12: Bake at the right temp, to the right doneness
Bake at 175°C (fan 160°C pro tip, use a over thermometer for accurate readings) for 22 to 28 minutes until lightly golden.
If you use a thermometer, aim for about 88 to 93°C in the centre of the middle roll.
Step 13: Make frosting: emulsify for silk
Beat 170 g cream cheese and then Add icing sugar gradually (100g), vanilla, double cream, pinch of salt
Cream cheese, soft: 200 g
Icing sugar: 100g
Vanilla bean paste: 1 tsp
Salt: tiny pinch
double cream: 2 tbsp
Step 14: Cool briefly before frosting
Allow the rolls to to rest for 10 minutes and then smear all over the top whilst its warm but not piping hot
The way you broke this down… absolute perfection 🤌🏾
We do cookies and cinnamon rolls for the local college students.